Frequently Asked Question
eCommerce: Add New Product
Last Updated 5 years ago
When you choose to add a new product to your online shop, you will see lots of fields that you can use to fill out the new product details. These can include:


Over to the right of this page, you will see a list of tabs that will allow you to change some important settings for your products including:


When you scroll to the bottom of the product page you will find an area where you can add some child products and addon products. Addon products can be created within the product page. However, we recommend creating your addon products before you add your main products, this will make assigning the addon products easier and quicker.

- Display name
- Product SKU
- Product summary
- Editor tools
- Product description
Over to the right of this page, you will see a list of tabs that will allow you to change some important settings for your products including:
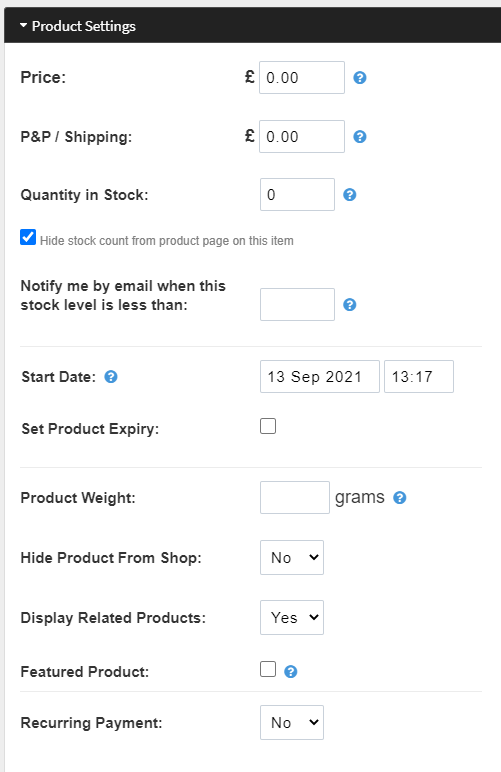
- Product Settings- here you can add/change the product price, the shipping costs, and quantity of stock. There is also a checkbox that allows you to hide/show the amount of stock you have left. There is an area where you can add in a minimum stock level and this triggers an email notification when the stock level reaches the minimum. You can add a start date and time for when the product will be visible and ready to buy on your website. You can also set a product expiry time and date for when you would like the product to be removed from the website. Add in features such as product weight, whether you want to hide the product from your shop, whether you would like to display related products, make it a featured product, and lastly choose the product to have a recurring payment. If you choose yes for the recurring payment option, you can choose to set up when you would like the recurring payments to happen.
- Product Type- here you can add in the type of product that you are selling, whether that is a digital or physical product. You can also use the checkbox provided to set your product to make a donation, this will make the price editable on the product page.
- Add Categories- this section will allow you to add your product to your pre-made categories. For example, your category could be ‘Perfumes for her’ and the product will be situated within that category. If you have not already created your categories, then you can use the ‘View Categories’ link within this section and this will take you to the page where you can create a new category and view the existing ones.
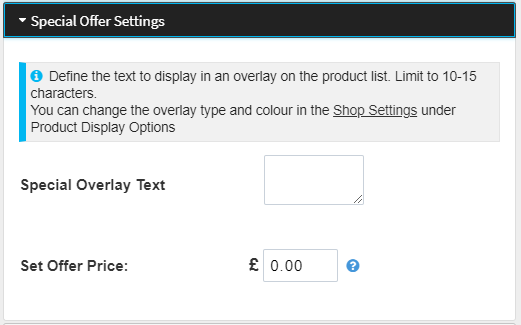
- Special Offer Settings- here is where you can add some special offer settings to your products. You can choose to write an overlay that will sit over your product image for example, ‘30% off’ in the ‘Special Overlay Text’ box. You can then calculate the amount of money that you would like the product to be discounted, and add it to the ‘Set Offer Price’. If you would like to customise your overlay further, then go to ‘Shop Settings’ in the side menu and under ‘Product Display Options’ you will see some extra settings that will allow you to change the colour and shape of the discount image overlay.
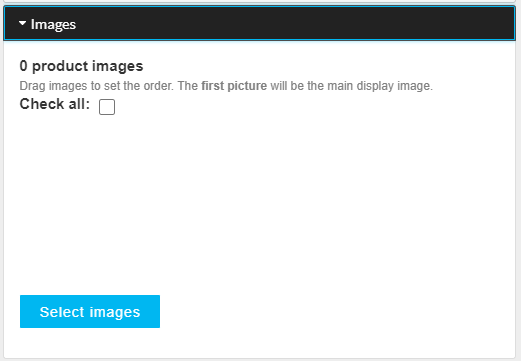
- Images- here you can select a previously uploaded image of your product, to be displayed on your website. You can also upload a new image when you select the ‘Upload Images’ tab.
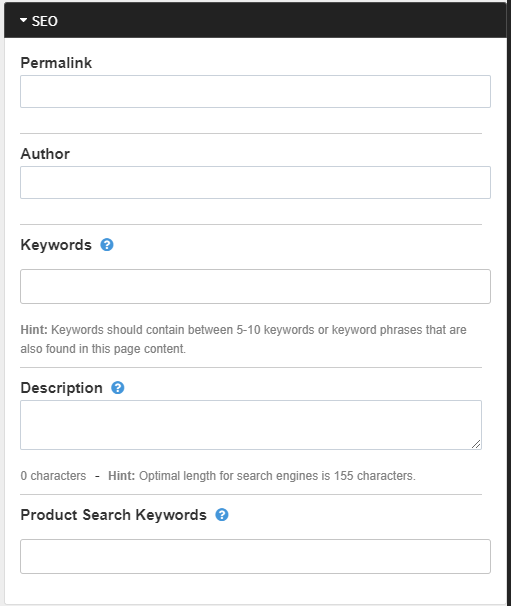
- SEO- you can add some useful SEO information to your product pages. Add in a permalink, author, keywords, description, and product search keywords in this section.
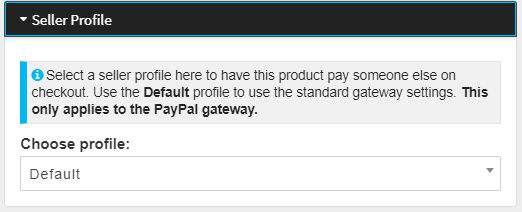
- Seller Profile- here you can choose to add your product to a pre-made seller profile so that your product will pay someone else during checkout. Just note, this can only be done through PayPal.
When you scroll to the bottom of the product page you will find an area where you can add some child products and addon products. Addon products can be created within the product page. However, we recommend creating your addon products before you add your main products, this will make assigning the addon products easier and quicker.